
How Is Solar Installed?
From Your Roof to Renewable Energy: Here’s How Solar Is Installed.
Going solar is an exciting step, but what actually happens between your first consultation and the day your system starts producing electricity? Explore the solar installation process and learn what to expect every step of the way.
What Happens When You Decide to Go Solar?
Installing solar panels involves more than attaching equipment to your roof. Every project requires thoughtful planning, electrical work, structural considerations, and coordination with local authorities and utility providers.
At New England Clean Energy, our team works to make the process as straightforward as possible, from your initial site evaluation to installation and system activation.
Thoughtful Planning
Every installation begins with evaluating your property, electricity needs, and system design requirements.
Professional Installation
Trained installation teams handle the mounting, electrical connections, and equipment setup.
Inspections & Activation
Your system must meet applicable requirements and receive utility authorization before normal grid-connected operation begins.
Preparing Your Home for Solar
Some of the most important work happens before the installation crew arrives. The preparation stage helps ensure your system is designed appropriately for your property.
Site Evaluation
We assess your roof or available ground space, shading, electrical infrastructure, and historical energy usage to understand your property’s solar potential.
System Design & Engineering
Our team develops a customized layout, selects appropriate equipment, and addresses structural and electrical requirements.
Permits & Utility Coordination
We coordinate applicable permit applications, engineering documents, and utility interconnection requirements before installation proceeds.
How Solar Panels Are Installed: Step by Step
Once the design and required approvals are in place, the installation crew begins the physical work. Here’s what a typical residential rooftop installation involves.
Site Safety & Preparation
The crew prepares the work area, establishes appropriate safety measures, reviews the roof layout, and plans equipment placement and wiring routes. This includes identifying ways to keep visible conduit runs neat and unobtrusive whenever practical.
Installing the Mounting System
The mounting system provides a secure foundation for the solar panels. Depending on the roof type, installers attach approved mounting hardware to the building structure using appropriate attachment and weatherproofing methods. Rails or other mounting components are aligned to support the array.
Securing the Solar Panels
Solar panels are positioned according to the approved design and secured to the mounting system. The crew checks alignment, spacing, and attachment details to create a clean, professional-looking installation.
Completing Electrical Wiring
Electricians install the required wiring, conduits, disconnects, and connections to integrate the solar equipment with your building’s electrical system. Wiring routes are planned with safety, code compliance, and appearance in mind.
Installing Inverters
Inverters convert the direct-current electricity generated by the panels into alternating-current electricity used by your property. Depending on the system, microinverters may be installed beneath individual panels, or another inverter configuration may be used.
Monitoring & Final Checks
The crew sets up applicable monitoring equipment and completes installation checks. Electrical connections, equipment configuration, and system documentation are reviewed before the project moves into the inspection and approval stage.
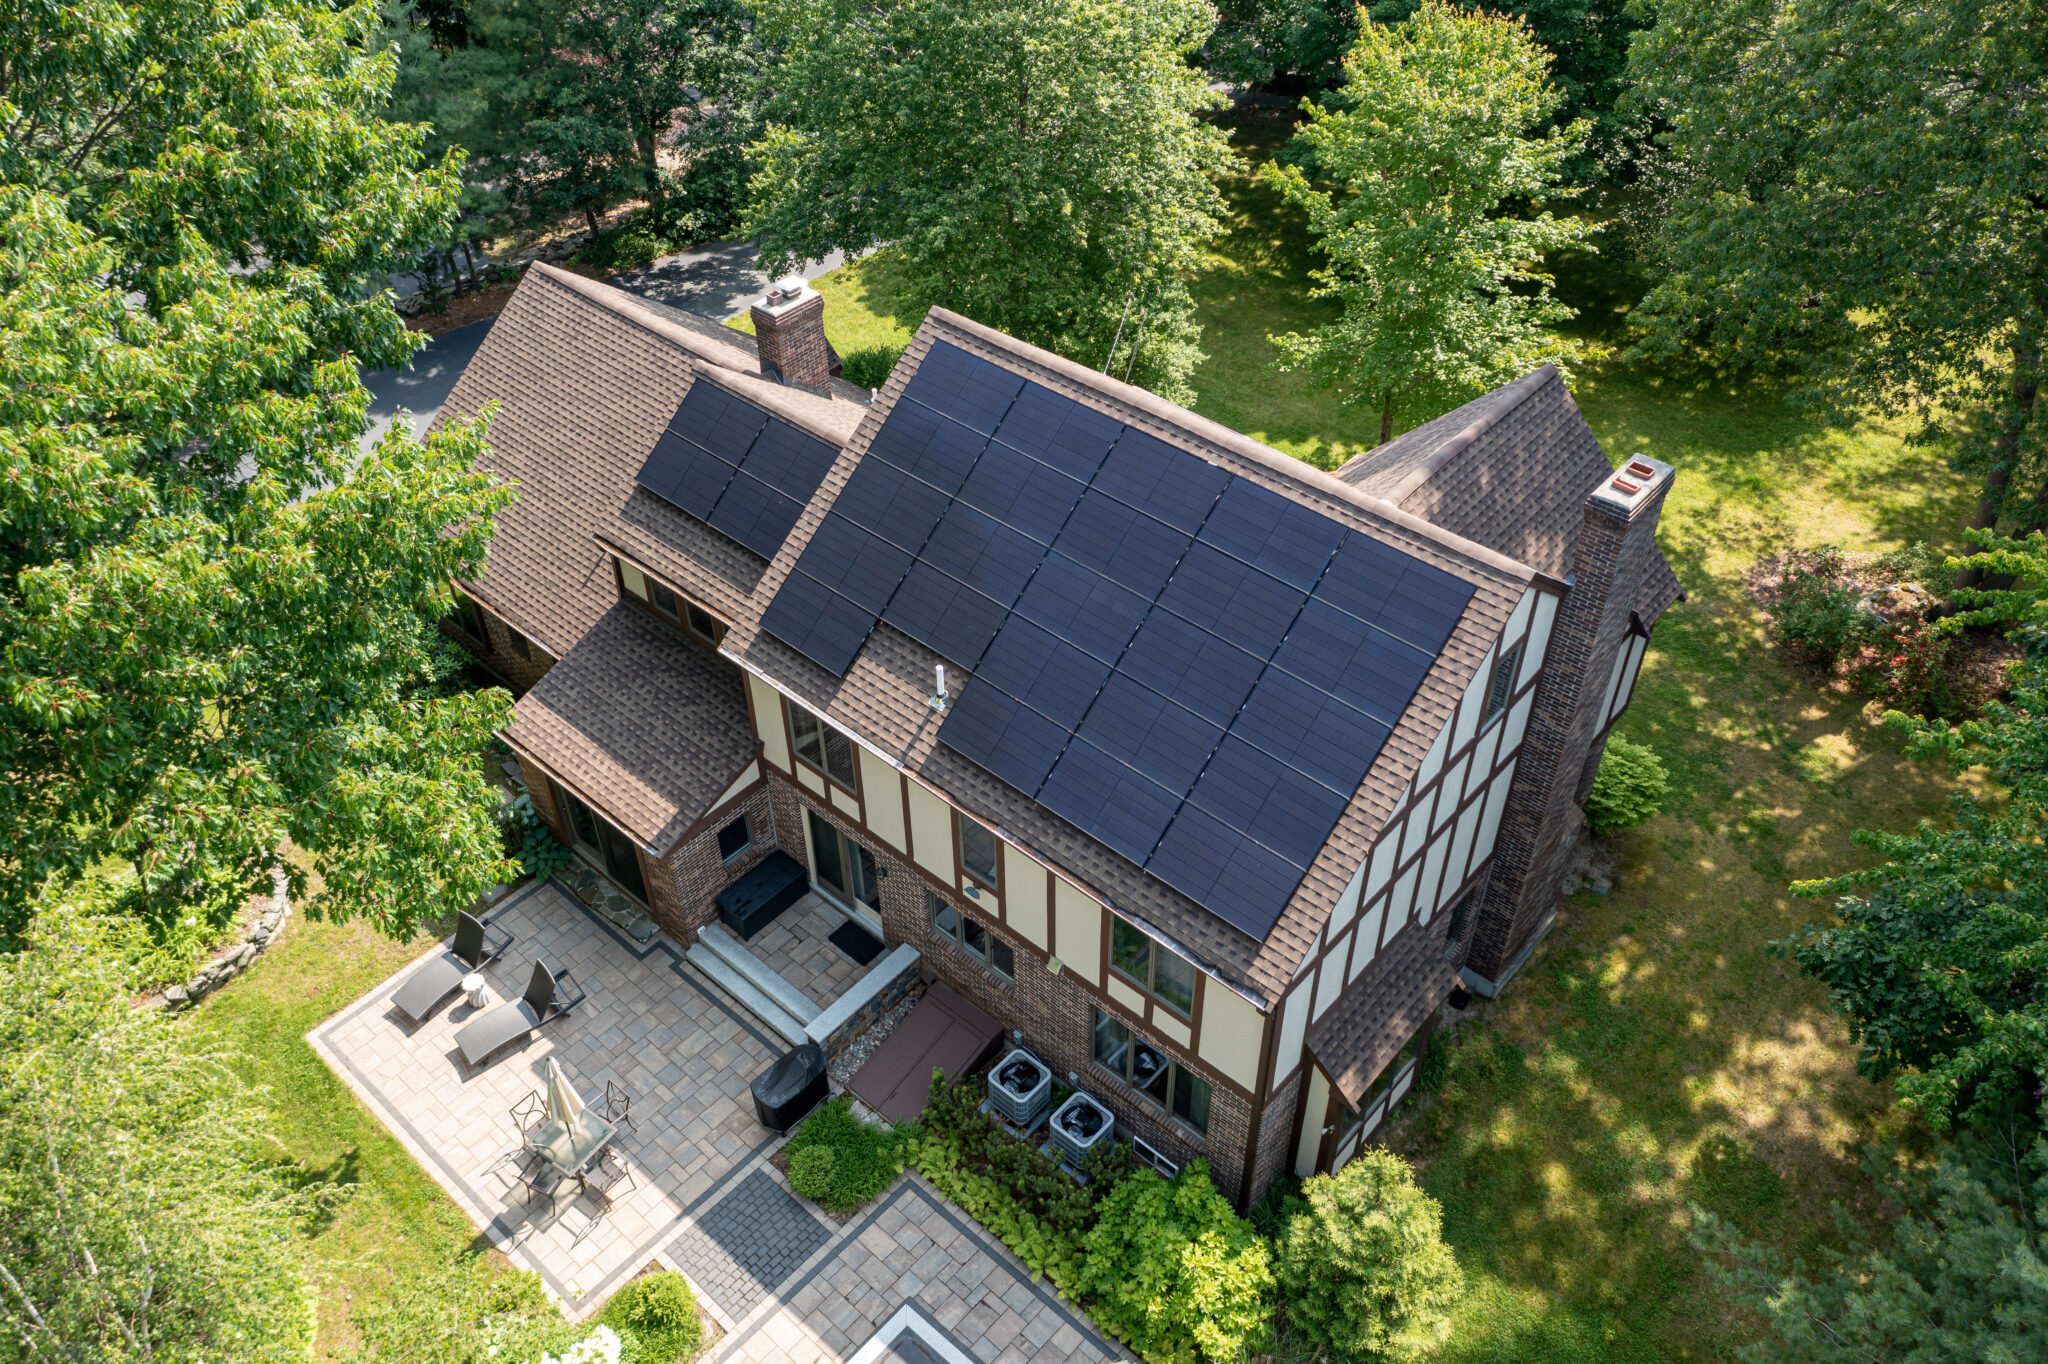 A completed residential rooftop
solar installation by New
England Clean Energy.
A Solar Installation Should Look as Good as It Performs.
A well-designed solar installation considers both technical performance and how the finished system looks on your property.
From panel alignment to equipment placement, small details can make a meaningful difference in the final result.
- Thoughtful panel placement and alignment
- Clean, organized electrical wiring
- Mounting methods suited to the roof type
- Appropriate waterproofing and roof protection
- Professional equipment installation
What Happens Before Your Solar System Goes Live?
Even after the panels are installed, a few important steps remain. Your system must meet applicable inspection requirements and receive authorization for grid-connected operation.
Final Inspections
Local inspectors review applicable electrical, building, and safety requirements to confirm the installation meets relevant codes and permits.
Utility Review
The utility reviews required interconnection documentation and any outstanding requirements before authorizing normal system operation.
Permission to Operate
Once the utility issues Permission to Operate (PTO), the system can begin normal grid-connected production according to its approved configuration.
Important: Installation completion and Permission to Operate are not necessarily the same day. Utility approval can take additional time depending on the provider, project, and outstanding requirements. Your installation team will explain the next steps and keep you informed.
Solar Installation Is a Team Effort.
A solar project involves more than the homeowner and installation crew. Several organizations may participate in getting your system approved and operational.
New England Clean Energy helps coordinate the required project documentation and approvals so you don’t have to manage every step independently.
Requirements can vary by town, state, utility provider, and system type.
Who Is Involved?
- Utility companies: Interconnection review, utility requirements, and PTO
- Municipal inspectors: Required electrical and building inspections
- Local permit offices: Building permits, zoning requirements, and other approvals
- Fire authorities: Applicable rooftop access and safety requirements
- NECE project team: System design, documentation, scheduling, installation, and coordination
Your Solar Journey: From Installation to Energy Independence
Want a more detailed look at the process of going solar?
Our free eBook walks through the stages of a solar project, from the initial consultation and site evaluation to installation and long-term system ownership.
Explore the Free Solar eBook →Ready to Start Your Solar Journey?
From your first consultation to system design, installation, and activation, New England Clean Energy can help you understand the process and explore the right solar solution for your property.
Request a Free ConsultationPrefer to call? 877-886-8867