How Is Solar Installed?
What to Expect Before and After Your Solar Installation
The Nitty-Gritty: A Closer Look at How Solar Is Installed
Making the choice to go solar is just the beginning. Understanding the actual physical installation process can offer peace of mind and give homeowners a clearer picture of what to expect. Here’s a detailed breakdown:
1. Safety and Preparation
Making your installation looks good is a big part of our planning! We determine the inside wiring and create a plan to avoid ugly conduit runs is a big part of planning. We try to go into the attic space – under where the panels will go to hide it. If that’s not possible, we look for ways of running it in a way that it’s camouflaged. We’ve even painted conduit to match a roof or the side of the building when the customer had leftover trim paint!
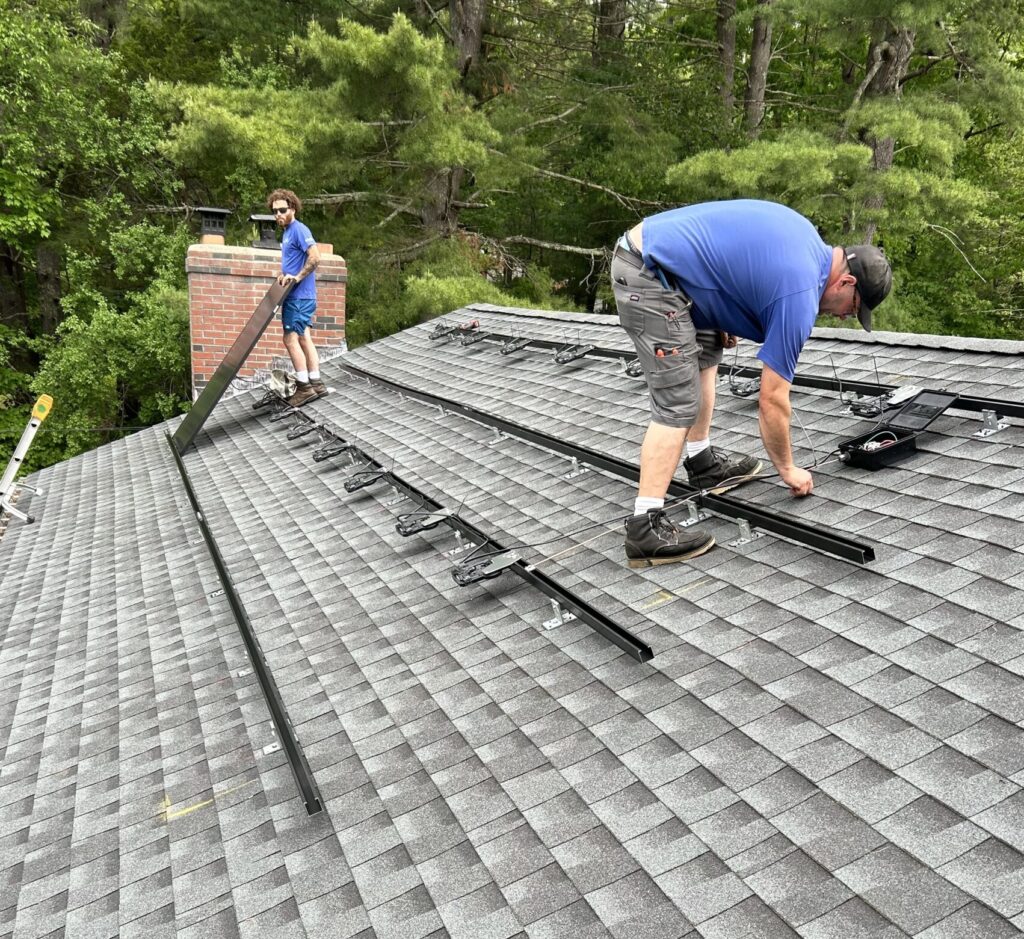
2. Setting Up the Mounting System
Solar panels need a strong foundation. This starts with setting up a mounting system. Roof mounts are the most common and involve attaching metal brackets directly to your roof’s rafters. The biggest concern is often caulking out where the roof mounts and rail will go, as everything needs to be aligned correctly, but the footing and rail placement dictate more than anything else. That sometimes includes factoring in slight imperfections in the roof’s shape. For example, a slight dip in the middle.
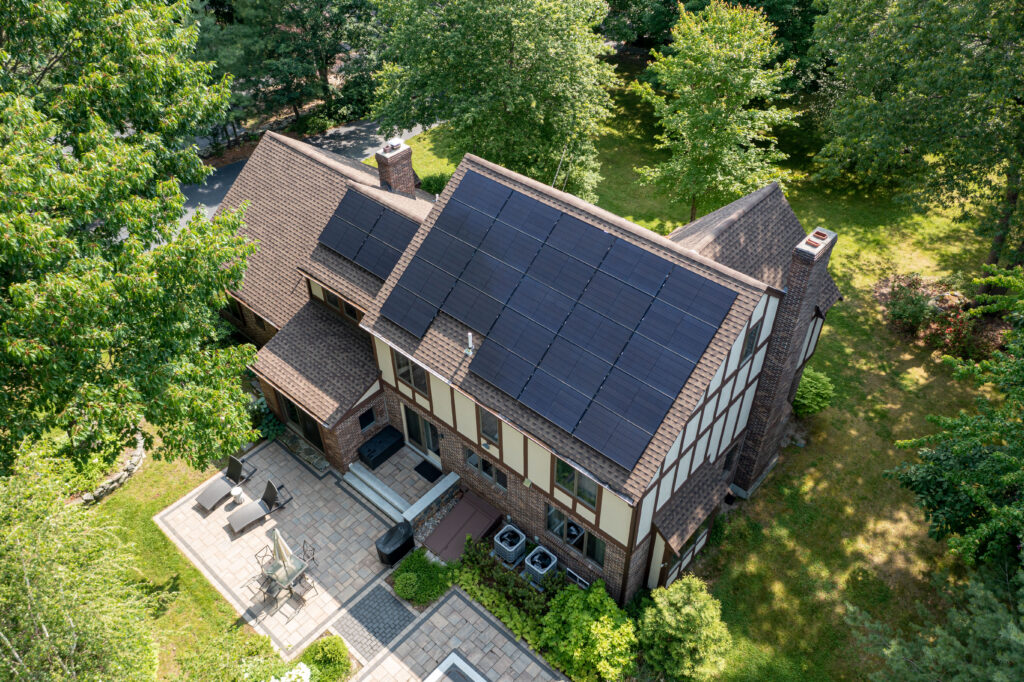
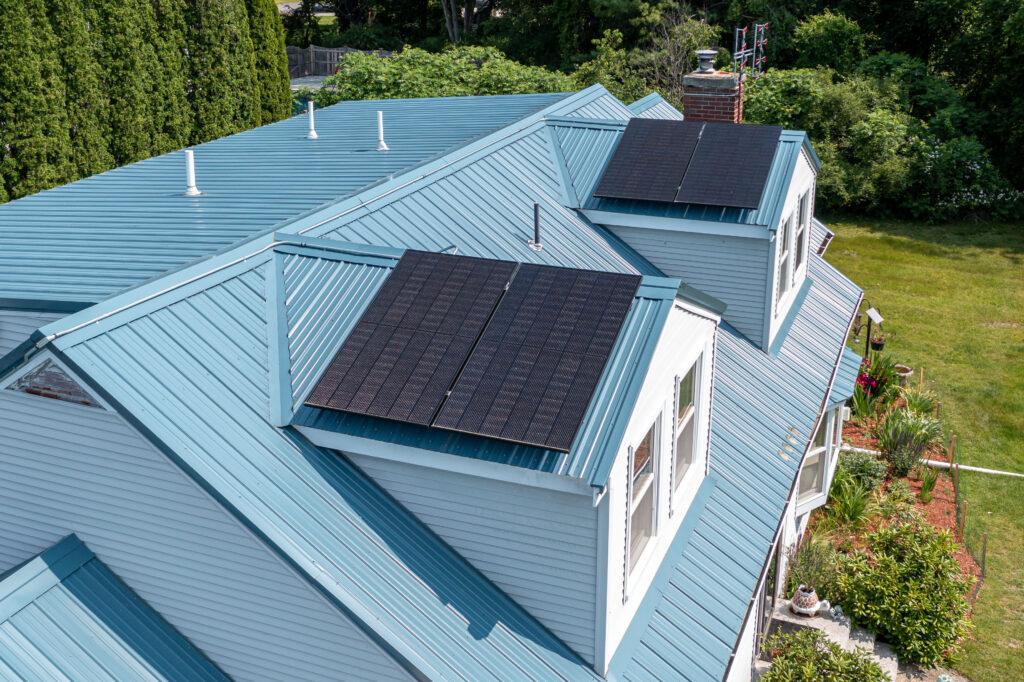
3. Installing Solar Panels
Once the mounting system is in place, the solar panels are attached. Panels are typically clamped onto the mounting brackets. They need to be aligned correctly, both for aesthetic reasons and to maximize sun exposure.
4. Wiring the System
After securing the panels, they need to be wired together and connected to your home’s electrical system. This involves running electrical conduits from the panels to an inverter. The inverter’s job is to convert the direct current (DC) generated by the panels into alternating current (AC), which your home uses. There’s also a conduit run down to a control panel and of course the house’s electrical panel.
5. Connecting to the Inverter
As mentioned, the inverter plays a vital role. Once the panels are wired, these wires are connected to the inverter. Depending on the design, you might have a central inverter for the entire system or micro inverters attached behind each panel.
6. Provisioning the Monitoring Equipment
For homeowners to keep track of their system’s performance, monitoring equipment is crucial. This is typically installed near your home’s main electrical panel and is connected to both the solar installation and often, the internet. This allows homeowners to track real-time performance and receive updates on system health.
7. Final Touches and System Inspection
Once everything is physically installed, the system will be tested. This involves activating the system, ensuring the panels are generating power, and verifying that the inverter is converting and delivering this power to your home’s electrical grid seamlessly.
8. System Activation
After testing and any necessary adjustments, the system is ready for its final activation. This is always done in conjunction with the local utility provider. This is even more critical if you’ll be sending excess energy back to the grid.
The process of physically installing solar panels involves a combination of structural work, electrical wiring, and careful calibration to ensure the system operates at peak efficiency. And while it’s technical in nature, at its core, it’s about fitting a piece of the sun’s energy onto your roof, giving your family a greener, more sustainable source of power.
There may be a long period of time between the final inspection okay and getting the PTO (Permission To Operate) from the utility. It can be two weeks – or 2 months. Neither the installer nor the customer have any control over the utility, who have a tendency to work at their own pace.

Have Questions about How You Can Make Solar Work For You?
New England Clean Energy is all about making it easy for you to get started and we offer two ways to find out how solar can work for your home or business!
Use our estimation tool to get an instant ballpark estimate and see savings with our self-assessment solar cost tool.
Speak with an expert solar consultant to get a free evaluation, with a complete and detailed proposal.
How Is Solar Installed? Collaboration for Solar Success: Understanding the Multiple Touch Points in Solar Installation
What Goes on During the Time Between Signing an Agreement and Installation Day
When you decide to install a solar system on your property, you’re not just partnering with your solar provider; you’re also entering into a collaborative process that involves various local and regional stakeholders.
Here’s a closer look at these essential touchpoints:
- Utilities
Utility companies play a crucial role in the solar installation process, especially if you’re planning to connect your system to the grid:
• Interconnection Agreements: Before your solar system can be connected to the grid, an interconnection agreement must be signed with your utility company. This outlines the terms and conditions under which your system is connected and operates.
• Net Metering: In many areas, homeowners can benefit from net metering, allowing them to receive credit for excess energy their solar system sends back to the grid. Utility companies facilitate this process, ensuring you’re appropriately credited for any power you contribute. - Municipal Inspectors
After the physical installation, municipal inspectors are called upon to review and ensure the system adheres to local codes and regulations:
• Electrical Inspection: This ensures all electrical components, including wiring, inverters, and the connection to your home, are safely installed.
• Structural Inspection: This evaluation confirms that the solar panels and mounting systems are safely and correctly affixed to your home or property and can bear the additional weight. - Fire Departments
While solar panels are generally very safe, fire departments need to be informed and often collaborate in the installation process for a couple of reasons:
• Safety Protocols: Fire departments may need to be aware of the solar installation’s presence, layout, and any specific shut-off procedures in the event of a fire.
• Clearance Zones: Increasing numbers of local or regional fire departments require specific clearance zones or access paths around solar panels to ensure safe rooftop access during emergencies. This can impact the design and layout of your solar installation. - Permit Offices
Before any work begins, permits are usually required. The local permit office or municipality oversees this:
• Building Permits: These permits ensure the solar installation adheres to local structural codes.
• Zoning Permits: Depending on your locality, there may be specific zones where solar installations are or aren’t allowed, or there might be special considerations to take into account (such as you’re getting a ground mount or other type of system that isn’t a typical roof mount installation). - Your Solar Provider – New England Clean Energy Inc.
Your solar provider, like New England Clean Energy, acts as the central hub in this collaborative process:
• Coordination: They ensure that all stakeholders are informed and in sync, streamlining communication between utilities, inspectors, fire departments, and homeowners.
• Documentation: From drafting interconnection agreements to securing the necessary permits, your solar provider handles much of the essential paperwork, ensuring all the i’s are dotted and t’s are crossed.
Your Solar Journey From Installation to Energy Independence
In this ebook, we will take you through the step-by-step process of transitioning to solar energy. From the initial consultation and site evaluation to the installation and maintenance of your solar system, we will provide you with a comprehensive walk through of the entire journey. Together, let’s embark on the path to a greener future and energy independence.