I love helping people help the planet with solar. So it dismays me to see sub-par installation work that could ultimately give the solar industry a black eye.
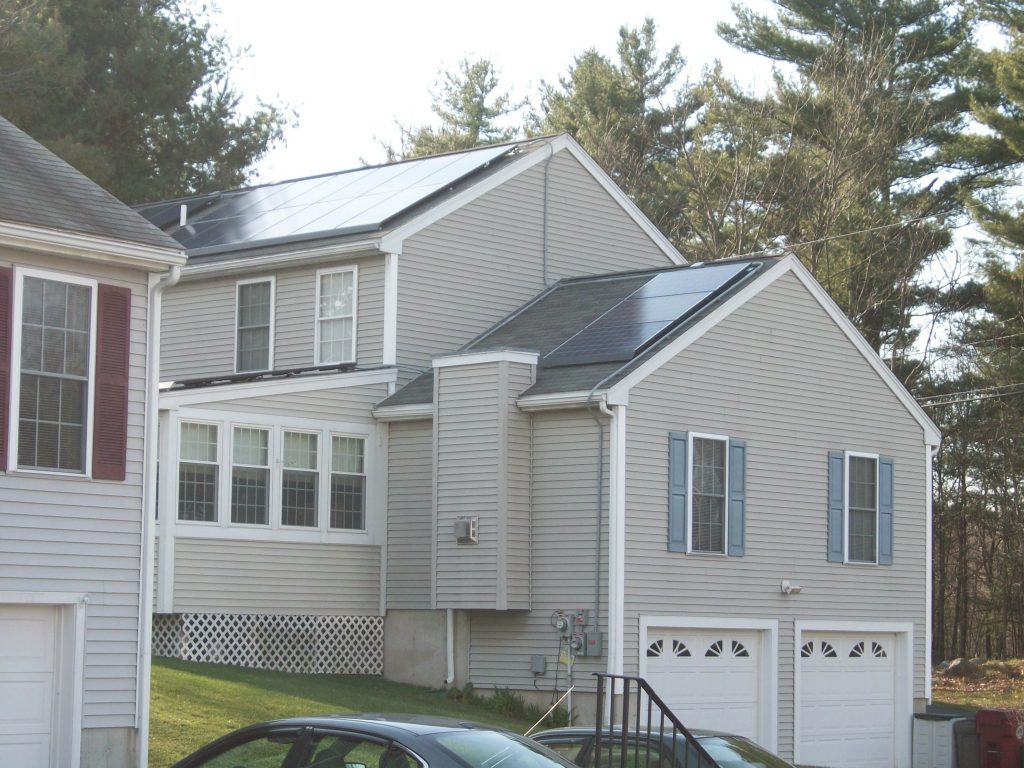
Homeowners can’t be expected to know what qualifies as a good vs. a bad installation. Recently, one of my employees pointed out this installation to a friend who lives on the same street, and the friend’s response was, “Doesn’t it look great?”
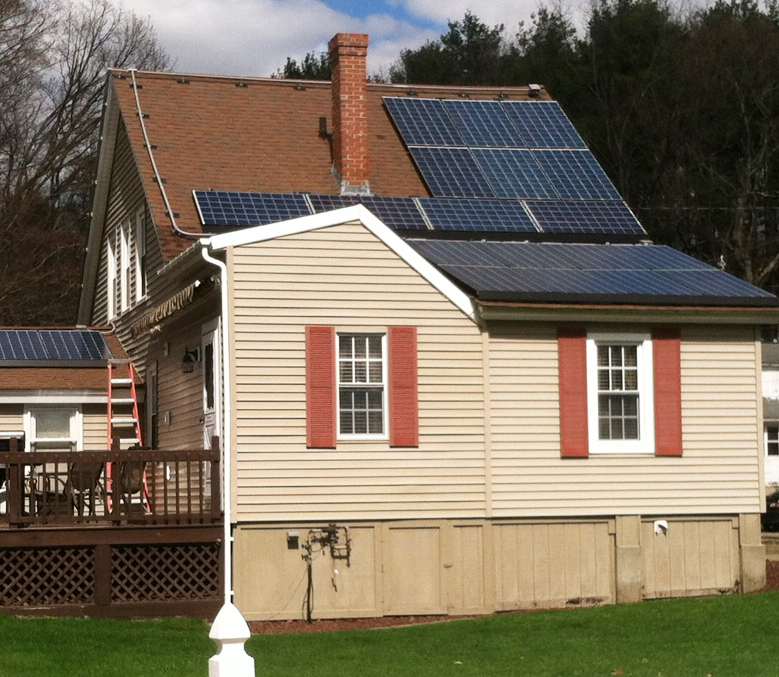
Pardon me if I beg to differ, but the panel alignment is unattractive, and the conduit (pipe) running along the top and the left side of the roof is unattractive and an invitation for leaves or ice to accumulate, potentially creating ice dams.
So, in an effort to educate consumers about what comprises an aesthetically pleasing, well installed solar system, allow me to present the Good, the Bad, and the Ugly.
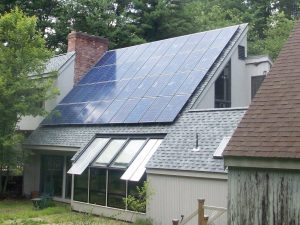
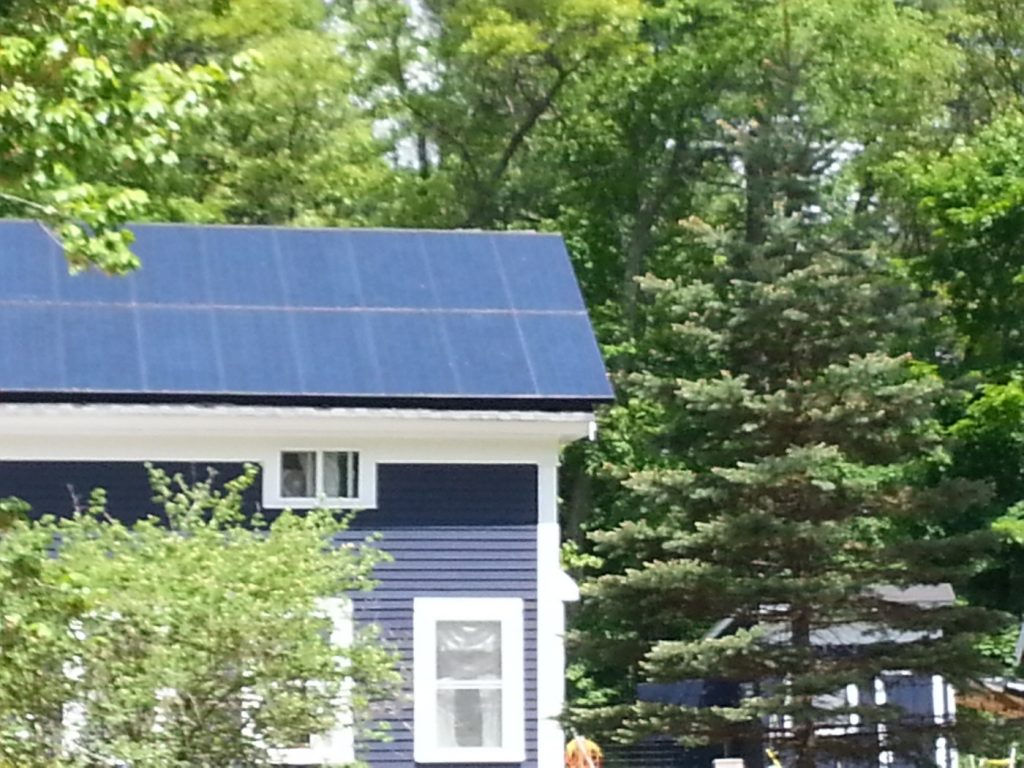
These New England Clean Energy installations are neat, tidy and attractive – evenly spaced panels, the arrays fit the roofs well, and not an inch of conduit in sight. Conduit runs are hidden under the panels and inside attics, not run over the top of the roof. We have literally hundreds of “good” photos; check out our website photo gallery if you want to see more.
A note on conduit: Occasionally, due to attic configuration or other challenges, some visible conduit is unavoidable. Also, some customers prefer a less expensive visible conduit option. When we do run conduit over the roof, it will be neat and as unobtrusive as possible.
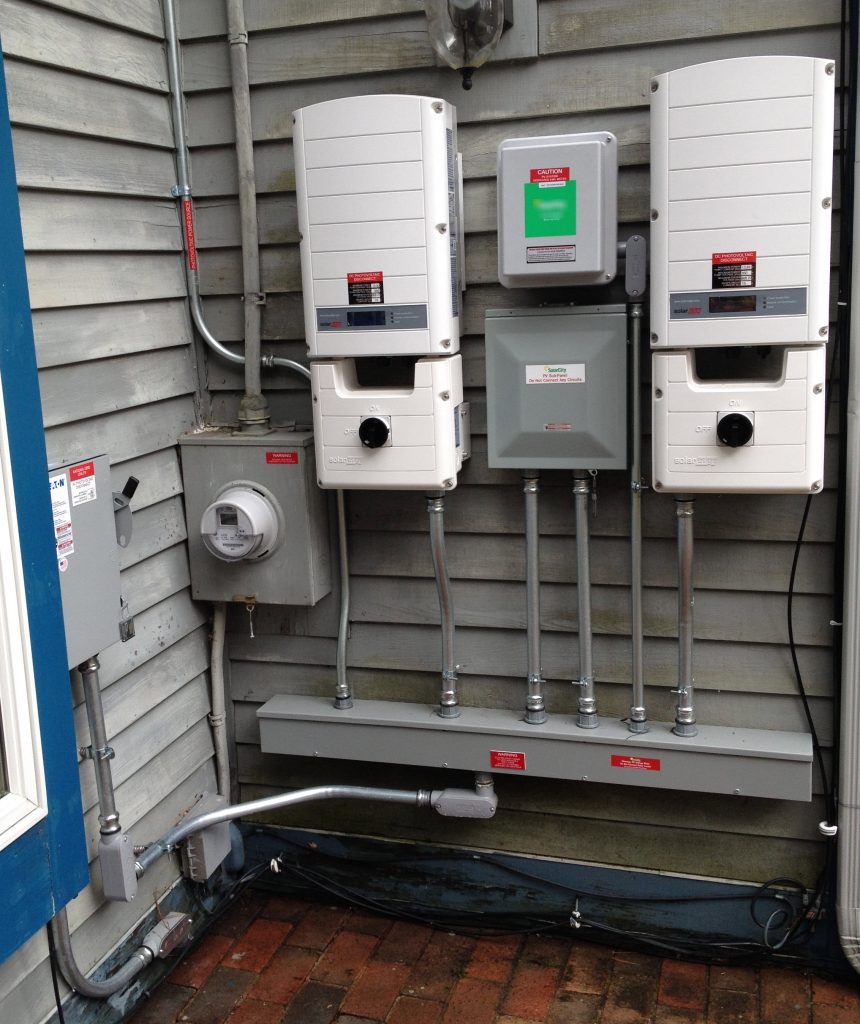
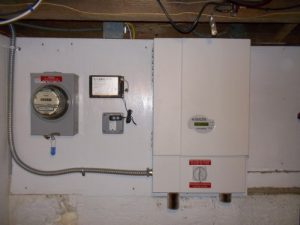 We take the same care with theinverter set up.
Some installation errors are just plain bad because they’re worse than unattractive – they’re unsafe and/or can impact your system’s production.
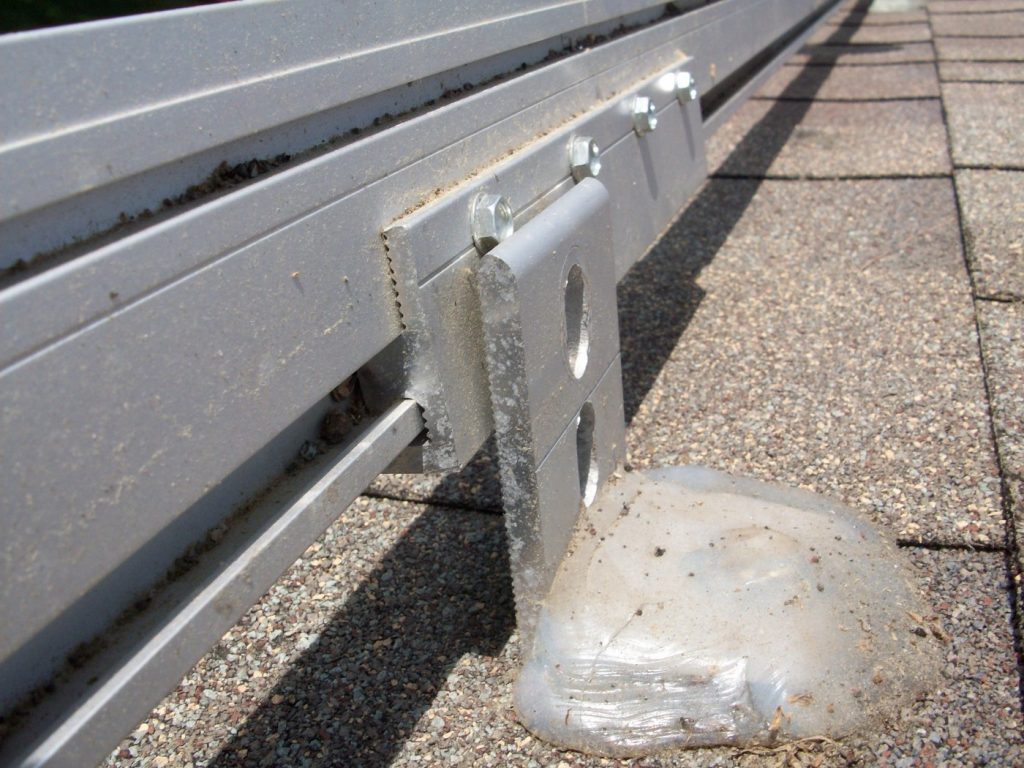
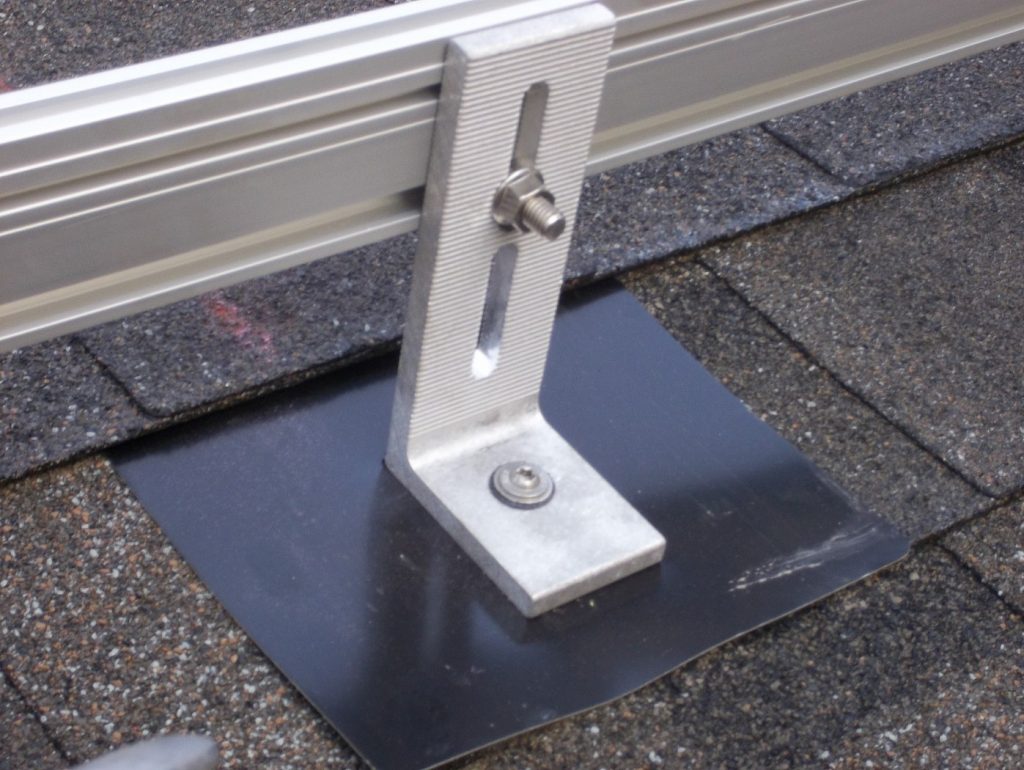
When having solar installed, people worry most about roof leaks. In the first photo below, the installer counts on a blob of silicone to seal the hole where the racking is bolted down. A better approach to leak protection is the flashing seen in the second photo.
We were called in to fix this system, which had rails with no connecting splices, panels so close to each other that they were “warping”, 52” between the last rail support and the roof edge when the manufacturer calls for no more than 16”, and exposed wires everywhere. (This project is covered in more detail in this article.)
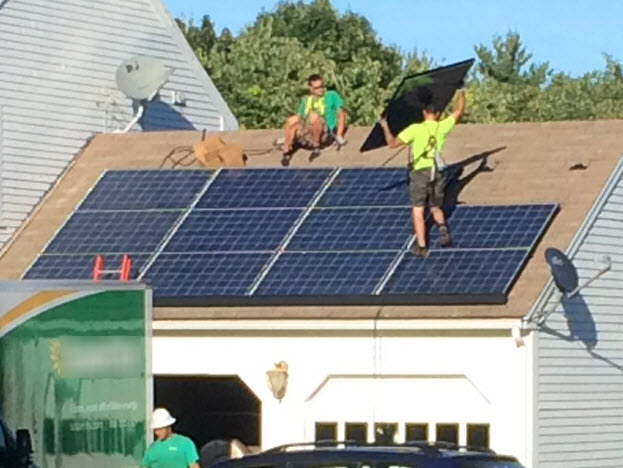
One of our sales guys snapped this photo showing an installer walking on his solar panels. I guess he doesn’t know he is creating micro-fissures in the panels, which may turn into full-fledged cracks. Solar panels are strong, but not built to withstand the weight of a 200-pound person moving across them!
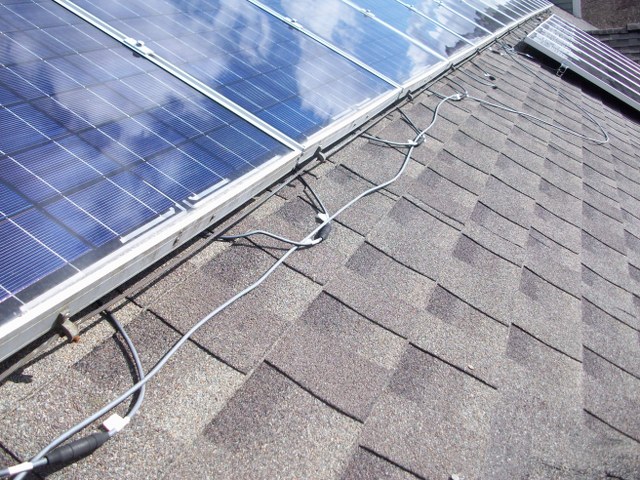
We take care to tuck up wires underneath the panels so they don’t rub against your shingles. Rubbing can wear off the wire’s protective insulation, creating a major safety hazard. The system in this photo not only has loose wires, the wires aren’t even under the panels, so they’re exposed to the elements and likely to wear away over time (not to mention unsightly).
One day we saw this system, with panels overhanging the edge of the roof. That’s a dangerous approach in New England, where a Nor’easter with heavy winds could rip the panels from the roof. (Many of these photos can be enlarged with a click.)
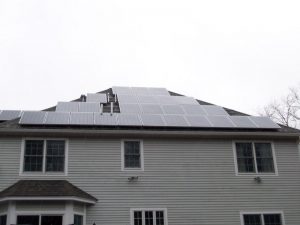
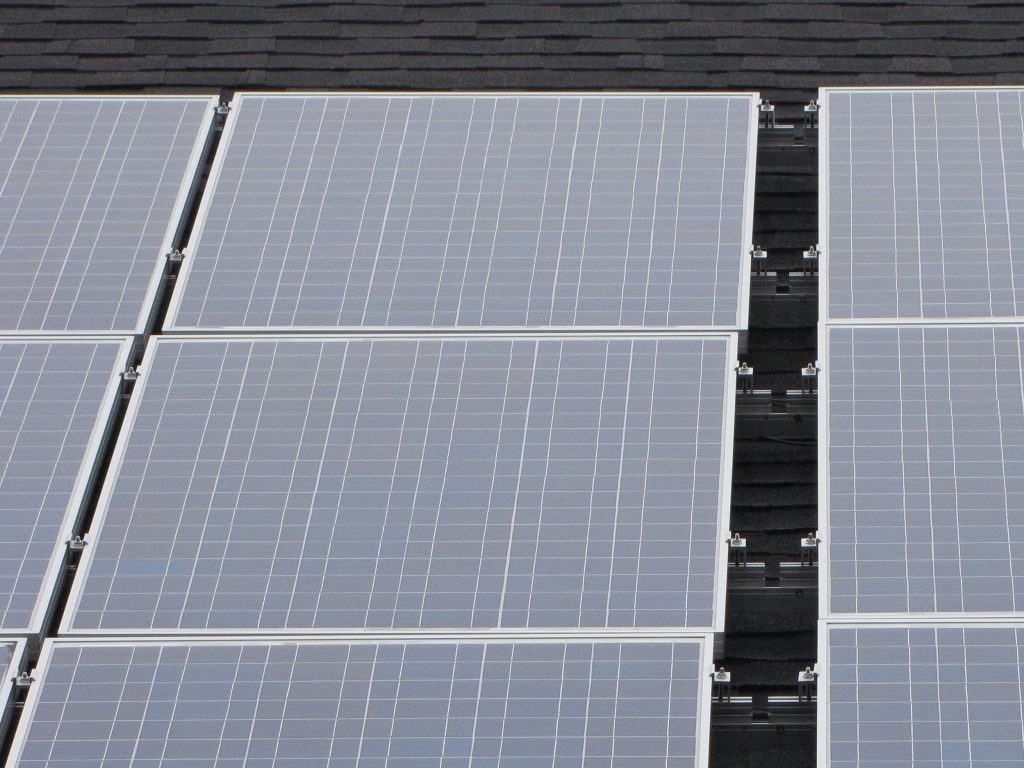
Then there are the installations that may not be unsafe, but don’t look as nice as they should. If you’re going to put something on your home for a few decades, it should add to your home’s appeal, not detract from it. Would you be happy with these mis-aligned panels on your roof?
Off the roof, there is plenty of margin for error, too. New England Clean Energy generally does not put the inverter and related equipment on the outside of the home. We prefer to install those in the basement or garage. However, we do give customers the option of an outside inverter.
But solar leasing companies almost always put the equipment outside, so they can disconnect the system if the customer doesn’t pay on time. You’ll also see outside inverters in towns where the municipal light department mandates that location.
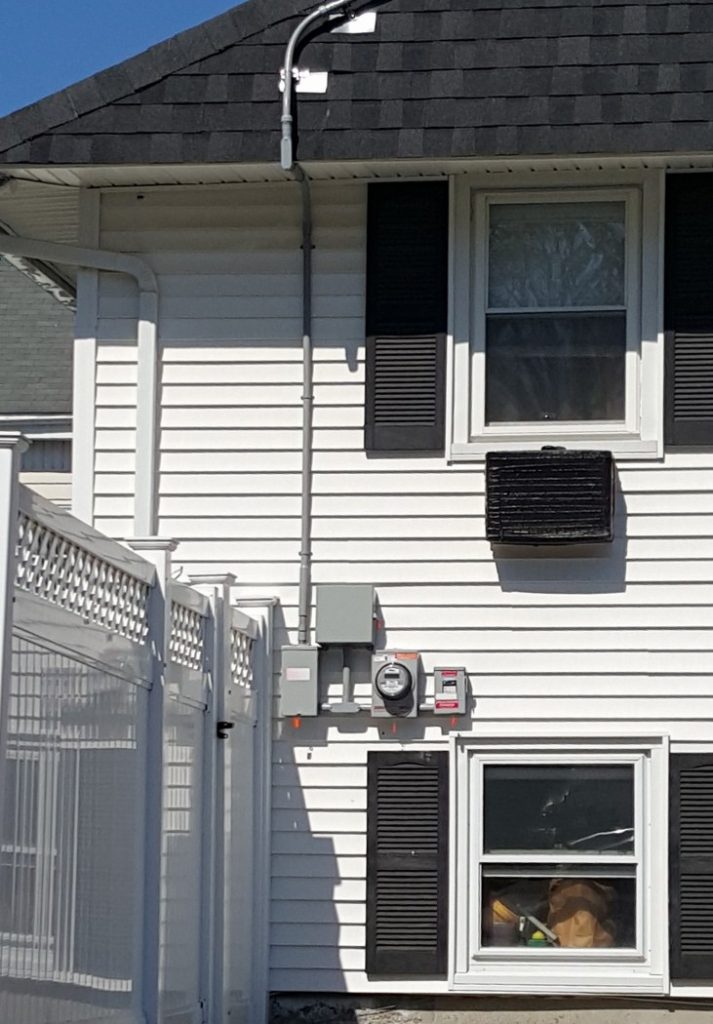
Visible conduit connecting panels to inverters is a common but unnecessary (in most cases) sight. It’s not hard to hide conduit inside the walls. It just takes a little more time. I literally have more than a dozen photos snapped around this area showing unsightly conduit; here are two. As I said before, we do offer customers the faster, easier and less expensive option of visible conduit, but it is a choice. The most aesthetically pleasing option is always our starting point, and we don’t force one option on customers like some installers do.
And maybe some installers just don’t care about looks. This photo showing unnecessarily visible conduit was actually proudly displayed on an installer’s website!
I’m not trying to badmouth other installers. (Note that no company names have been given, to protect the guilty.) I’m merely trying to educate people as to how good solar looks when done right. Maybe I’m a solar snob or a picky perfectionist. But if it were your house, wouldn’t you be, too?
So if you’re hiring a solar installer, insist on seeing photos of their recent installations and talking to recent customers. Ask if the conduit will be visible or hidden. If it will be hidden, ask where the roof penetration will be – you want it under a panel. And ask where the inverter and disconnect switch will be mounted. Finally, ask to see photos of their work so you can judge if it meets your aesthetic requirements. If you don’t feel that the salesperson or crew member is listening to you, find a different installer.
(The installations in New Jersey shown on this website take “Bad and Ugly” to a new level!)
If you liked this article, you might also enjoy:
- Quality Matters: My Experience Going Solar – Part 2
- Shady Solar Installers – Part 1: Bad Work in Bedford





 Download our 7 FAQs

