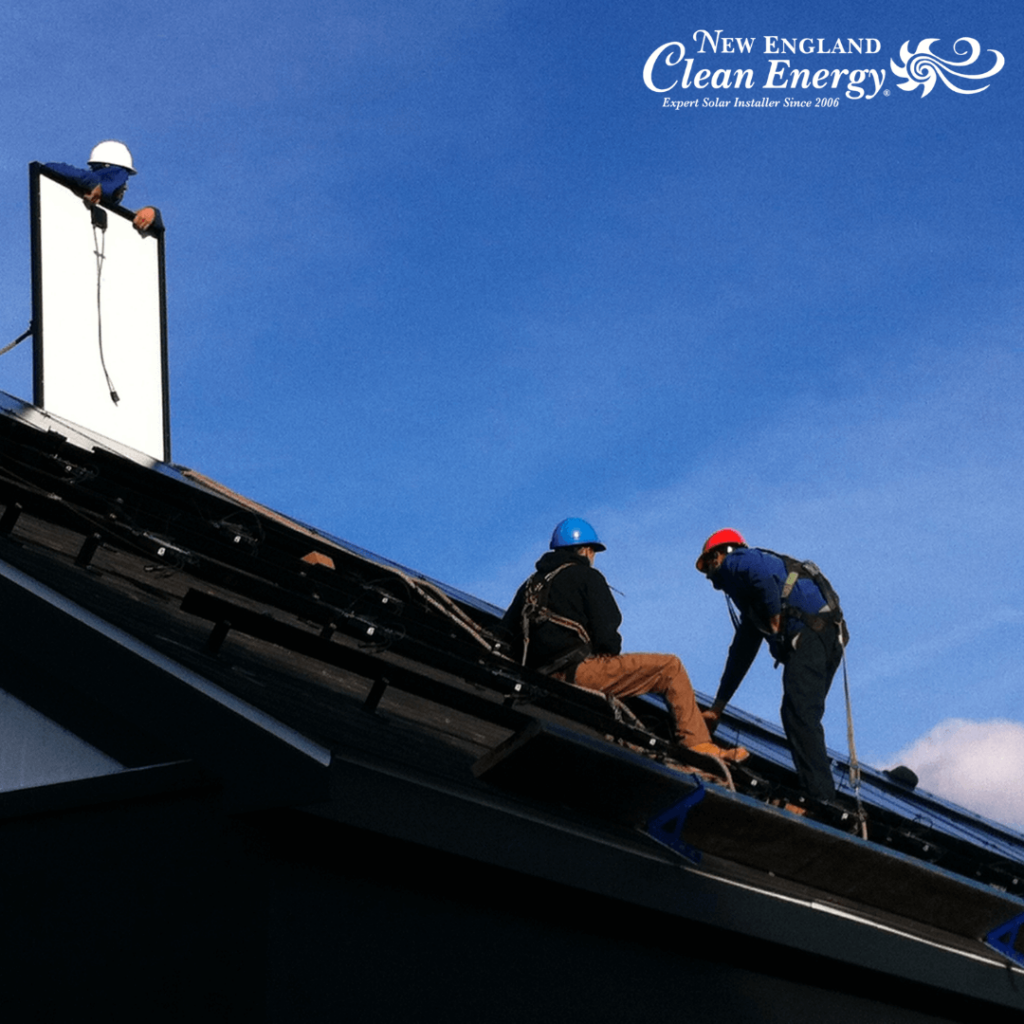
Are you wondering how to install solar panels? Solar power is an excellent way to reduce your carbon footprint and save money on your energy bills, but the installation process can seem overwhelming. Fortunately, it’s not as complicated as you might think. In this blog post, we’ll break down the process into five easy steps so you can have a new solar system up and running in no time.
Sales
Once you have decided that you are ready to make the move to solar energy, it’s time to start the process of selecting and installing the right system for your home or business. Your first step should be to contact a solar consultant who can help you find the best system to meet your needs.The solar consultant will be able to provide you with a comprehensive assessment of your energy needs and make suggestions on the best system to meet those needs.
You will also discuss project financing options and develop a comprehensive project plan. Once the project plan is finalized and all parties have agreed, documents will be signed and a deposit will be paid. Finally, the project financing will need to be confirmed so that your solar installation can move forward. Your solar consultant will help guide you through this process, ensuring that all necessary paperwork is in order before proceeding. Once all documents are signed and financing is secured, you are ready to begin installation!
Engineering
Installing a solar system is an investment in your future, so it’s important to make sure that you do it correctly. Before any construction begins, there are several steps to take to ensure a successful installation. The first step is to review the site information. This might include anything from verifying utility connections and inspecting existing structures to reviewing existing plans for solar system design and installation. If necessary, this may also require an on-site visit to collect all the information needed to move forward with the project. Once the site has been reviewed, the next step is to confirm the system layout and location. This includes ensuring that the placement of the solar panels and other components will maximize the efficiency and effectiveness of the system.
After this, plans should be submitted to an engineer for structural evaluation in order to ensure that all components are properly installed and that the system meets any local codes and regulations. Finally, the system layout, location, and materials should be finalized before construction begins. This is your opportunity to make sure everything is just right before investing time and money into the project.
Operations
The Operations phase is the crucial step. It is the approval stage, where paperwork is sent to the utility for approval, as well as local authorities for permitting approval. During this phase, incentives and other similar program paperwork must be completed and materials ordered and delivery dates secured. Finally, once everything is in place, a project installation schedule is finalized with all parties involved. The approval process can be lengthy, depending on the town’s and utility’s schedules. Make sure to be patient and expect delays. It’s important to stay in contact with all parties involved to ensure that no documents or details are overlooked. Once all documents are collected, signed and submitted, you’re ready to move onto the next phase – Installation!
Installation
At this stage, the system will be built and tested to make sure it is working properly. The local authorities will also need to inspect the system, so make sure to provide them with access so they can do their job. Once the inspection is complete and the system passes, a Certificate of Completion is received from the utility. This is a very important document as it serves as proof that the system meets all requirements. Finally, the system monitoring needs to be set up so you can keep track of your solar energy production.
Closeout
The fifth and final step of how to install solar panels is the closeout. This includes submitting your Certificate of Completion to the utility, waiting for the Permission to Operate (PTO) from the utility, and turning on your system. When submitting your Certificate of Completion to the utility, it is important that you provide all the required documents and information needed for them to process it. This may include electrical diagrams, warranties, and contracts. Once you have submitted your Certificate of Completion, the utility will review it and then provide you with a PTO via email. This document will allow you to turn on your system. It is important to note that this process can take quite a while depending on the utility’s schedule and availability.
Before turning on your system, be sure to complete any remaining incentive paperwork and register your system components for their manufacture warranties. This will ensure that your system is protected and will last for years to come. After you have received your PTO, you are ready to turn on your system and start enjoying the benefits of solar energy.
Congratulations! You have successfully learned how to install solar panels in five easy steps.
If you liked this article, you may also like:
Did 2022 Finally Make Solar Panels Beautiful?


